- Suppliers
- New to MedicalSearch? Book a Demo
- Advertise with us
- Login
- Email Marketing
- Buyers
- Get Quotes
- Articles & Ideas
- Login
- Subscribe to newsletter
- My Details
- Get Quotes
- Accident & Emergency Care
- Aged Care & Disability
- Anaesthesia & Respiratory Care
- Beauty & Wellness
- Cardiology & Cardiac Surgery
- Commercial Cleaning & Laundry Supplies
- Dental Care & Oral Surgery
- Diagnostic Instruments & Medical Imaging
- Disinfection & Sterilisation
- ENT & Audiology
- Gynaecology & Obstetrics
- Homecare & Consumer Medical
- Hospital Equipment & Supplies
- Intensive Care Unit
- Laboratory & Pathology
- Medical Apparel
- Medical Devices & Products
- Medical Fridges & Freezers
- Medical Storage & Filing
- Medical Waste Management
- Optometry & Ophthalmology
- Orthopaedics & Podiatry
- Paediatrics & Neonatology
- Patient Monitoring & Management
- Physiotherapy & Rehabilitation
- PPE & Infection Control
- Single Use Medical Consumables
- Surgical Tools & Supplies
- Treatment Beds, Tables & Couches
- Veterinary Equipment
- Wheelchairs & Mobility Aids
Trusted by 740,000 Australian medical buyers
Buyers
- Discover products & solutions
- Login
- Subscribe To Newsletter
- Browse All Products
- Read Articles
Suppliers
Advertise
- Promote your products & solutions
- New to MedicalSearch? Book a Demo
- Login / Forgot Password
- Advertise Your Products
- Success Stories
- Email Marketing
- Suppliers
- Advertise with us
- Login
- Email Marketing
- Buyers
- Get Quotes
- Articles & Ideas
- Login
- Subscribe to newsletter
- My Details
Get Quotes
- Accident & Emergency Care
- Aged Care & Disability
- Anaesthesia & Respiratory Care
- Beauty & Wellness
- Cardiology & Cardiac Surgery
- Commercial Cleaning & Laundry Supplies
- Dental Care & Oral Surgery
- Diagnostic Instruments & Medical Imaging
- Disinfection & Sterilisation
- ENT & Audiology
- Gynaecology & Obstetrics
- Homecare & Consumer Medical
- Hospital Equipment & Supplies
- Intensive Care Unit
- Laboratory & Pathology
- Medical Apparel
- Medical Devices & Products
- Medical Fridges & Freezers
- Medical Storage & Filing
- Medical Waste Management
- Optometry & Ophthalmology
- Orthopaedics & Podiatry
- Paediatrics & Neonatology
- Patient Monitoring & Management
- Physiotherapy & Rehabilitation
- PPE & Infection Control
- Single Use Medical Consumables
- Surgical Tools & Supplies
- Treatment Beds, Tables & Couches
- Veterinary Equipment
- Wheelchairs & Mobility Aids
Trusted by 740,000 Australian medical buyers


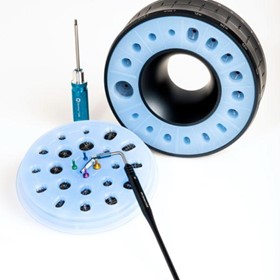
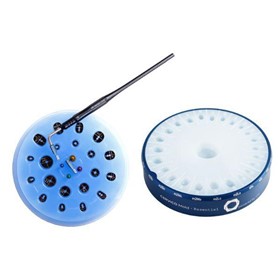
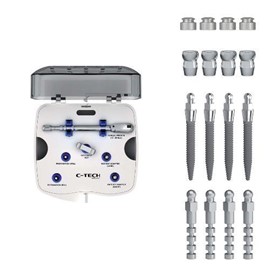
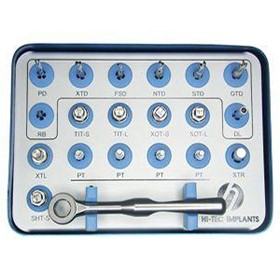


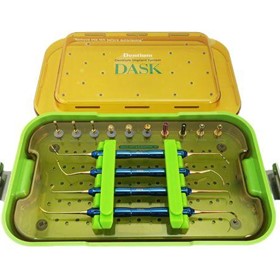

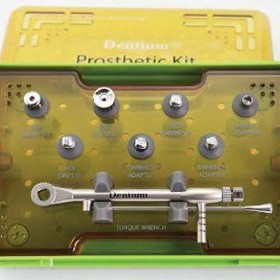
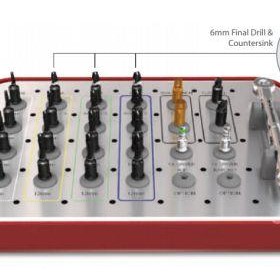


![Dental Implant Kits | COMPLETE [3P] [EV] [SL] SURGICAL KIT](http://portalimages.blob.core.windows.net/thumbnails/images/quimh4nu_DentalImplantKits1-280x280-state_7.jpg)